 At certain times of the growing season you may have an abundance of roses and what better way to enjoy them than to make a simple basket arrangement that you can put on the dinner table. The more different kinds of roses you have, the better, but also look to see what else is growing in your garden or in a nearby field or ditch. And if you have no roses or not enough to make an arrangement you might check the grocery stores because roses are usually inexpensive during the summer when they are abundant; this week one of my local grocery stores advertised a dozen for $3.99.
For this arrangement I was lucky to have three different kinds of large pink roses and three kinds of small pink roses, all in different shades. I cut the stems as long as possible but I ended up with stems of many different lengths. As I cut I figured that the larger darker roses will go on the bottom, the smaller lighter ones will go near the top and I cut accordingly. No matter how much I might like a choice of stem length I know that there will be some small light roses that have weak or short stems and I will use them as the fillers. The Queen Anne’s Lace was blooming abundantly along the roadside when I decided to do the arrangement so I cut that for a filler too. The blue statice was from the local grocery store and was not really necessary for a pretty arrangement.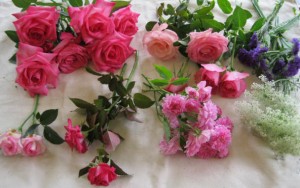
Not all the roses are in the best shape; some have brown spots on some of petals, others have torn outer petals, etc. but most of these problems can be eliminated or at least minimized and the rest may not even be noticeable when you finish the arrangement. For ratty looking outer petals, I slipped my thumb and forefinger on either side of the offending petal and pulled at the base to “peel” it off. I can do this to quite a few petals without ruining the rose.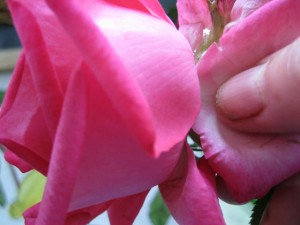
When I had an edge with a spot or brown area I used manicure scissors to snip away the flaw. The curved blade of the scissors made it easy to make a cut that will look like the natural edge of the rose petal.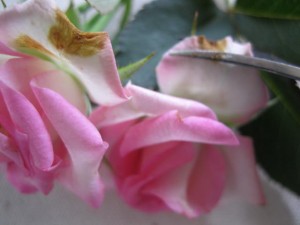
To condition the roses before placing in foam, I cut the stems underwater at an angle and then plunged them into a bucket of water up to their necks to let the whole stem get a good drink. An hour or two is ideal but, of course, I use less time when I am in a hurry.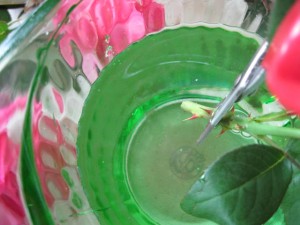
For this arrangement I used foam in a plastic liner that fit snuggly into a basket. The two were purchased together but when baskets came without a liner I have used a margerine tub or some other plastic container. The foam should fit snuggly in the liner or has to be wired or taped into the liner; that’s an extra step so I try to avoid it.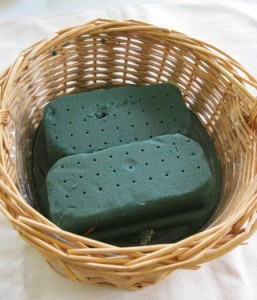
Since I wanted to use the arrangement for the dinning table I wanted it low enough so that everyone at the table could see over it. The length of my arm from wrist to elbow is a good, easy, length to use. I started with the lightest colored rose, a bud in this case, but a small rose would be good too. I cut off the thorns on the lower end of the stems where they will go into the foam easily. I never strip the thorns off because the damaged skin of the stem would allow excess water loss and that would lead to “bent neck” (the flower would droop on the stem).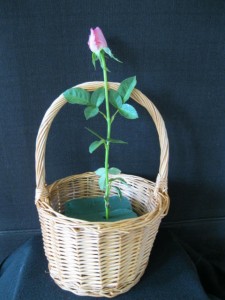
The medium pink large roses went in next. I only had three of them so I placed them evenly around the center bud and a bit below it.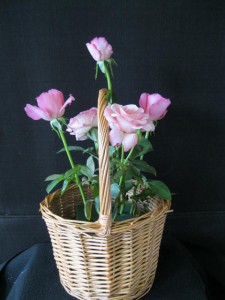
The darkest large roses went in all around the others so that no two roses overlapped or appeared on the same horizontal or vertical line. I had to turn the basket several times to get the roses well distributed and at different heights to give depth.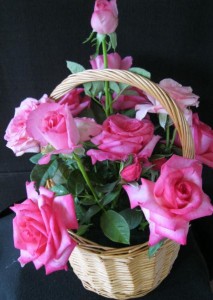
The smallest roses were placed in spaces between the roses that have already been placed in the arrangement. Again, turning the arrangement as I worked helped make sure that I eliminated “holes’.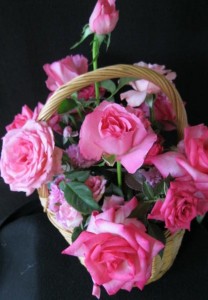
Some of the small roses were sunk into the arrangement to give it depth. An arrangement in which all the flowers are even length can look like a hedgehog; they call them rolly-pollies in the flower shops.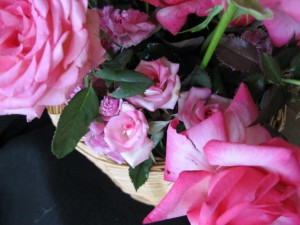
Next, I used the Queen Anne’s lace all through the arrangement to tie it all together and fill the areas devoid of flowers.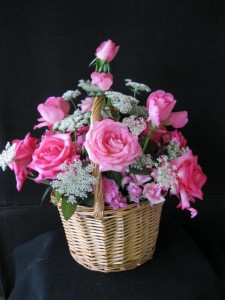
Of course you can add more fillers if you have them; here’s the arrangement with blue statice added.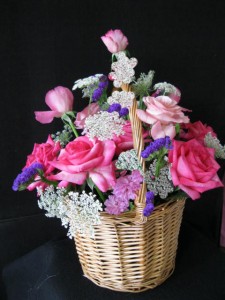
You may ask about foliage. For this arrangement I felt I had enough foliage with the leaves on the rose stems and plenty of Queen Anne’s lace and small roses for fillers. Greens from the garden would have been lovely especially if I didn’t have many flowers. When I use foliage (and I usually do) I try to use at least 3 different kinds to add texture and interest. In this case I had several different kinds of roses to give variety so I opted to go with no foliage.
After I complete an arrangement I try to keep it in a cool place out of direct sunlight or drafts. Roses need a plentiful supply of water to keep their stems stiff and heads up so any strategy that cuts water loss is important. The best kind of arrangement for long lasting roses is one that has no foam, just fresh water, but then the container options are more restricted. A basket of roses has a certain look and you have to use foam to get it.
